
Step - 1
Log in to your blogger account and go-to blog > Template and click the 'Customize' button as shown in the below picture.

Step - 2
Now click 'Advanced' button in the settings pane
provided at the top left corner of the template page as shown in the picture.
Then check 'Page Text'. Page Text is nothing but the settings of text
that appear in the actual article.


As shown in the picture, we are allowed
to select the font style, pixel as well as text color. The selection of the
font color depends on your blogs background colors, whereas the font pixel
selection is based on font style chosen. Do make an experiment by varying the
style, pixel and color and select those that are mostly pleasing to you.
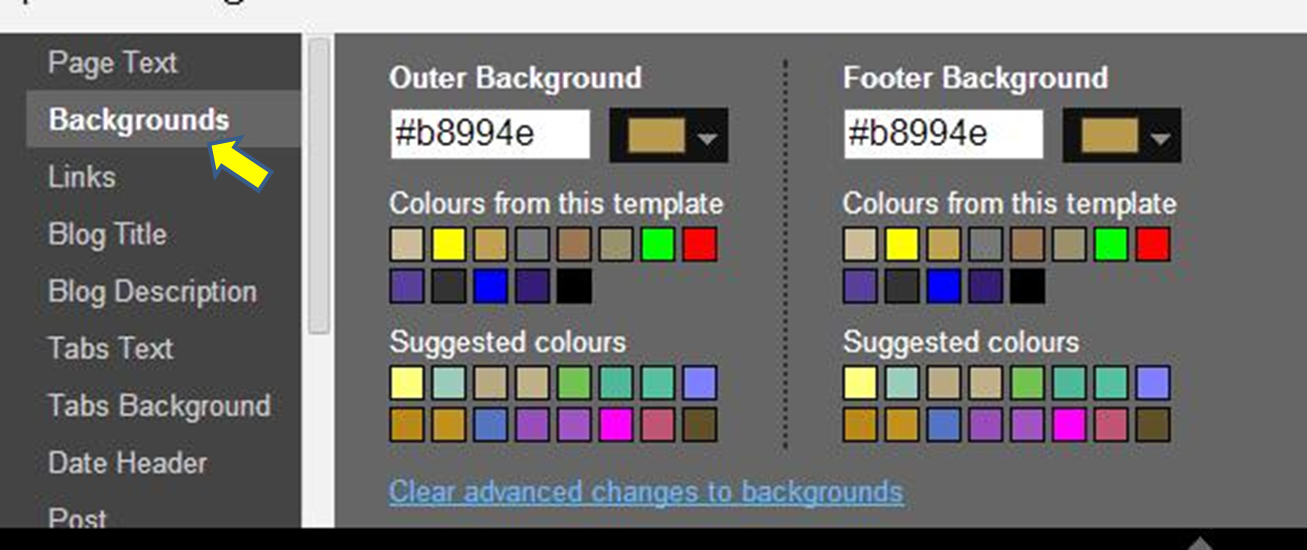
Step - 3
The Backgrounds setting allows you to choose
appropriate color for outer as well as footer of your blog. The settings were
shown below.
Step - 4
The 'Links' setting only changes the colors of the
html links that too in the side bar (left or right). You can see this blogs
links in blue color in the right gadgets bar.

Visited color indicates the color
that appears when a visitor clicks that link. Enabling visited color helps the
visitor in identifying the links that are yet to click.

Hover color is the color that appears when a mouse is placed
on the link. The settings are shown below.
Step - 5
Now, click over 'Blog Title'. This is the title that
appears in the top of your blog, just like that shown for this blog 'All
Tech Buzz'.

This setting allows you to change
the font style, size and color of the Title with the options of bold and
italic.
Step - 6
The next setting 'Blog Description' is the text that
appears just below the blog title (if you have included that).

Step - 7
'Tabs' are the blog categories, also called as 'Pages' that cam be
included in every blog for the purpose of easy navigation. We had already
learned about Pages in our previous course. Now, the 'Tabs Text' allows
you to change the text style, color and size of the tab.

Like you can for this blog (at the
top of the page), the tabs are HOME, SEO, SMM, Make money etc.
Step - 8
To change the background settings of the above tabs, you need
to click 'Tabs Background' as shown below. Choose the separator color.

Step - 9
'Date Header' can be seen just above the post title
(or below the blog title). The next setting 'Post' is the important
concern for blog design. The 'Title font' is the font style and
size settings for the post title that appear above each post

.
'Background color' and 'Border color' are not for the title but for the
total blog post. As shown in the example, a light brown post background is
selected on brown background. This applies from top to bottom of the blog. You
may even select the border for better visibility.
Step - 10
'Gadgets' are the widgets that appear either in right,
left, top or bottom of the blog post.

This settings are meant to choose
the color, size and font of your blog,
Step - 11
The remaining settings like 'Footer', 'Footer Links'
are for the bottom most appearance of the blog and by default, they can be left
as it is. The 'Add CSS' helps you to edit template code and is usually
done by advanced bloggers who know much about coding. As of now, the basic
settings are enough to deal with to customize our blogs.

Please comment your views about this post below. We happily accept your valuable suggestions.
![[Updated] {*HOT*} Amazon : Trick To Remove Rs.40 Shipping Charge (Products List Added)](https://blogger.googleusercontent.com/img/b/R29vZ2xl/AVvXsEgTPm9Uu5EgE-PReLY2_QePOnuFnqWjhphPh6fwdTrCzxyf2Xdpul2XP2D7Y7JB_CyUT6lqpql5WnIMc6fadPLnkgwsqnGLouhv9BXeOj_pqmUIIh8y9qQPrX_Ml7BUaOV9RGuQLjfwRPM/s72-c/21.png "[Updated] {*HOT*} Amazon : Trick To Remove Rs.40 Shipping Charge (Products List Added)")


No comments:
Post a Comment